Showing posts with label Cook It 2012. Show all posts

Monday, October 15, 2012

Dehydrating Fruit - Cook It! September Resolution: Raisins

Grapes = Raisins. So simple. And so much more lip-smacking when you make them yourself. That's what I did for the Grow It Cook It Can It September Cook It! 2012 dehydrate fruit resolution.


I started with a bunch of small organic green grapes; seedless, and very flavorful. Gave 'em a rinse and pulled out all the stems. Though now I know why you sometimes get little stem bits in your raisins — those suckers can be tough to remove! Popped the grapes into the dehydrator at 135 degrees, and went to sleep.


After 12 hours, to my delight they were starting to look like raisins!


And after a little more than 26 hours, my grapes had been truly raisin-ified.

Since grapes are pretty much pure water, it can take some time to dehydrate them. Count on anywhere from 24-48 hours depending on the size of the grapes you are using.


These raisins really do pack so much more punch in terms of their pure, grape-y flavor, I have found myself mostly just eating them as a snack. This is one of the best dehydrating projects I've done so far, and the payoff was great.


Making Your Own Golden Raisins on Punk Domestics

Saturday, September 15, 2012

Make Pickles - Cook It! August Resolution: Curry Pickle Slices

Making pickles is already one of my preserving pastimes. And out of everything I've made, my hands-down favorites are these Curry Pickle Slices. Last year's supply didn't last long, so I made a few batches earlier in the summer for the June food swap, but as pickling cucumber season was beginning to wane I had to squeak some more in during August. So they are the perfect fit for the August "make pickles" resolution for Cook It! 2012.


If you are making pickle chips of any kind, I highly recommend using a mandoline. This is not only about a thousand times faster than slicing them with a knife (no joke), but will ensure your slices are uniformly thick and they'll look nice too.


For most pickle chip recipes you'll need to plan on two days. The first one you prepare your vegetables and leave them in salt overnight to remove excess moisture. The second day you make the brine and get them into jars. If you are not a home canner, you could easily make a half batch and keep them in your fridge. I bet they wouldn't last long at all.


Curry Pickle Slices
Makes 4 pint jars

8 cups pickling cucumbers, sliced
3 small onions
1 tablespoon pickling salt
2¾ cups cider vinegar
1¾ cups sugar
1 tablespoon curry powder
2 teaspoons pickling spice (Penzey's has a great one, or you can make your own)
1 teaspoon each: celery seeds and yellow mustard seeds

Remove the cucumber ends and then cut into thick slices. Thinly slice your onions and place with the cucumber in a large non-reactive bowl. Sprinkle with pickling salt and let stand, covered, for 24 hours.

Drain the cucumbers and rinse them twice with cold water, draining thoroughly.

Combine your remaining ingredients: vinegar, sugar, curry powder, pickling spice, celery and yellow mustard seeds — and bring to a boil over high heat in non-reactive pan.

Add the cucumbers and onions and return just to a boil before removing from heat.

Remove hot jars from the canner and fill with vegetables, using a slotted spoon to remove from the pickling liquid. Pack into jars and pour in liquid, leaving 1/2 inch headspace. 

Process 10 minutes for pint jars and 15 minutes for quart jars.

Note: I've increased the amount of pickling liquid in this recipe adaptation as I always seem to be just a little bit short, and it is much better to have an excess than not enough to properly pickle all your hard work.


These pickles go great on nearly any sandwich and are awesome in egg salad.

Curry Pickle Slices on Punk Domestics

Sunday, August 12, 2012

Canning Whole Fruit - Cook It! July Resolution: Plums in Syrup with Rosemary

Plums are one of those fruits you can almost always bank on getting free. Folks who have plum trees are continually looking for friends to take the abundance off their hands. I usually get a good haul in from a couple trees at my parents' place, but was away during plum harvest season this summer so was happy when the plums I'd been ogling in the yard in Eugene were ready by the time we left town.


So whole plums in syrup seemed the obvious choice for the July Cook It! project.


Plums in Syrup with Rosemary
Yields one quart-sized jar

1½ - 2 lbs whole plums, depending on size of fruit
2 cups of water
1 cup of sugar
1 piece of fresh rosemary, washed

While you heat up your water bath canner, place water and sugar into a non-reactive pot and stir to dissolve sugar. Bring to a boil and cook while stirring for one minute.

Wash the plums and prick each one 3-4 times with a skewer or toothpick. Place the plums in your hot jar, packing them as tightly as possible. They will shrink once you add the hot liquid and process them, so squeeze as many in as you can.

Place the sprig of fresh rosemary down one side of the jar, and pour the hot simple syrup over the plums, leaving ½" headspace.

Wipe the rim with a clean, damp dish towel, placing the lid on top and screwing down the band to fingertip tightness.

Process for 25 minutes and let cool on a wire rack. Over time the rosemary will infuse the syrup and plums with more flavor, so keep this jar on the shelf for at least a month or two before opening. 

Use the flavorful plums to top ice cream or cake-like desserts. The extra syrup provides the perfect hint of fruity and herbal flavor for cocktails.

Note: If you are using thin-skinned plums, they may burst inside the jar when you process them. While this isn't the most attractive outcome, there's always a silver lining: when you open the jar, you can quickly cook them down in the syrup to make plum rosemary compote! (Just don't forget to remove the pits.)

Plums in Syrup with Rosemary on Punk Domestics

Saturday, July 14, 2012

Jam - Cook It! 2012 June Resolution + Summer Peach Jam, Peach Syrup & Bourbon Peach Skin Butter Recipes


When I saw that the June Cook It! challenge was making jam, I thought "this one will be easy!" I already make a lot of jam but wanted to try something new and fancy of my own creation. I was busy concocting summery jam recipes in my head: apricot and rose geranium, nectarine with blueberry and lemon verbena, blackberry and rosemary. Those jam dreams will have to wait though, as I have ended up being away from home for the past few weeks and am unable to spend much time in a kitchen. But luckily, I have my June peach project to turn to.


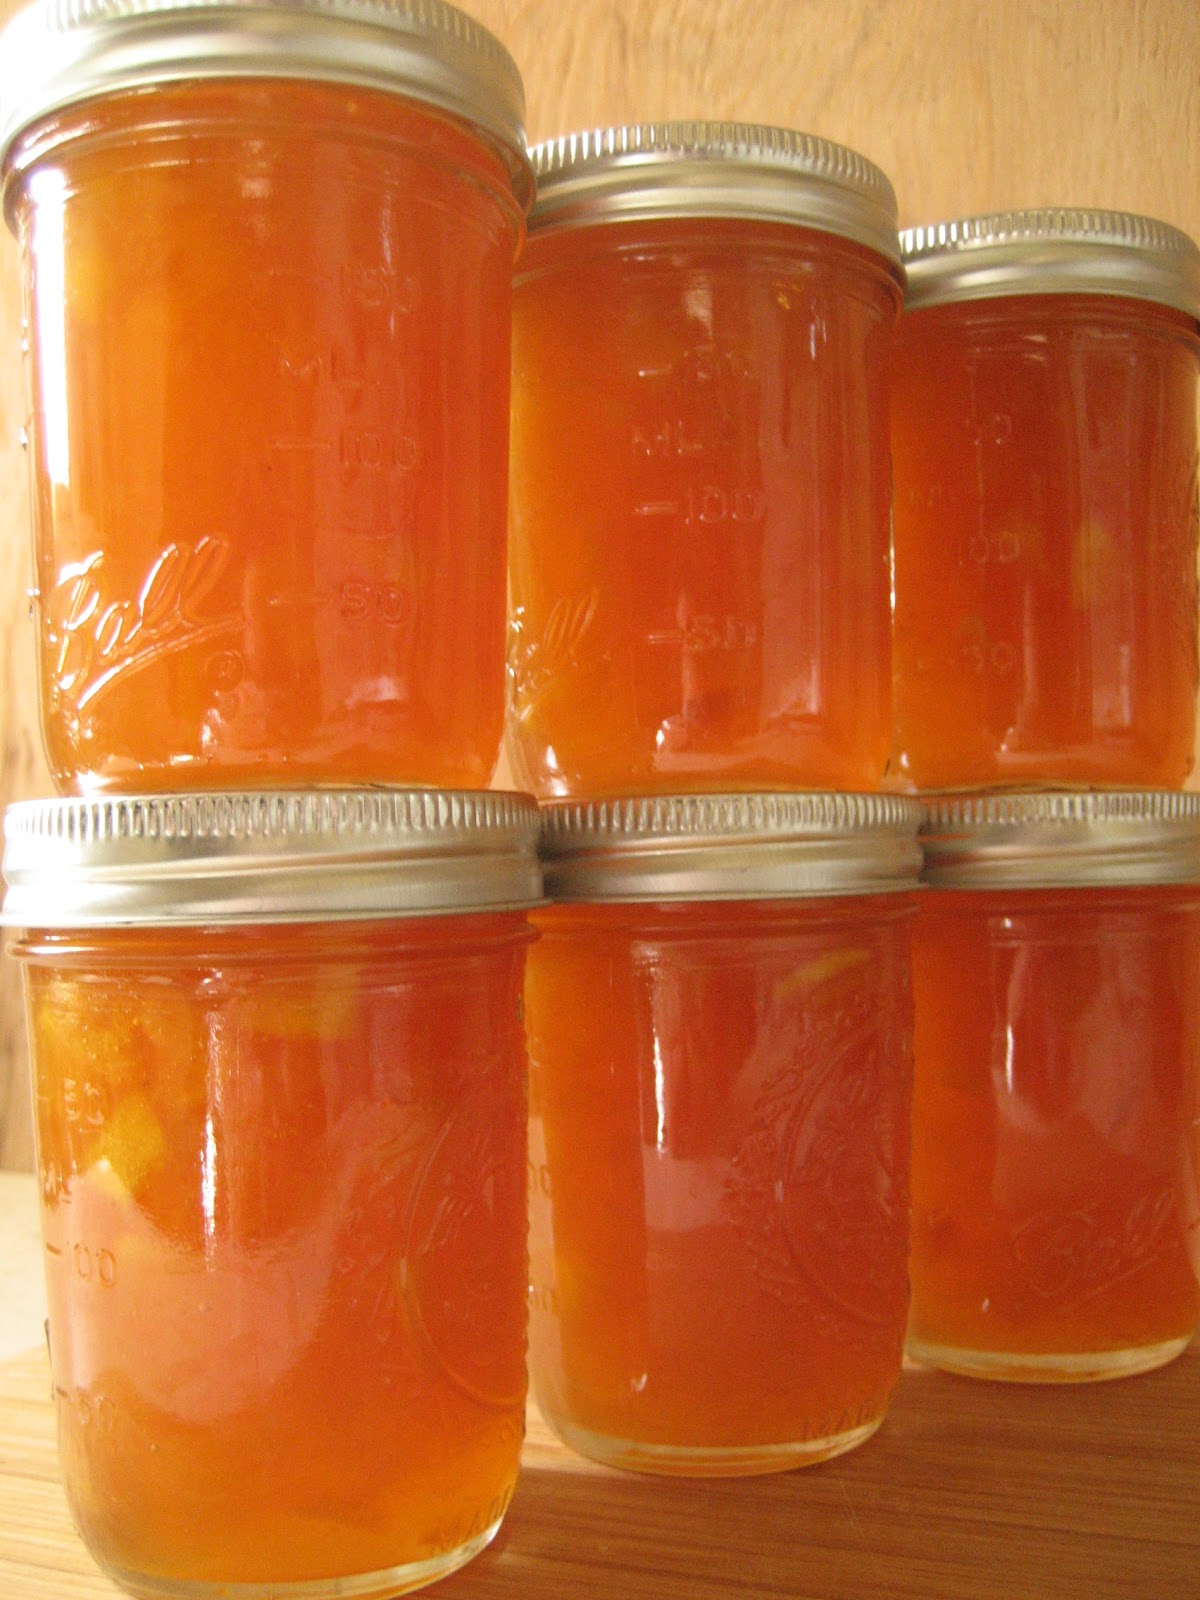
It started with my buying 5 lbs of peaches in order to make some Pickled Ginger Peaches for the June swap. By the time I needed them though, they weren't quite ripe enough and I ended up mutating them a fair bit while blanching and struggling to remove the clinging skins. Off I went for a fresh and riper 5 lbs to work with so they'd look pretty in their jars, and then post-swap turned my attention to the less pretty fruit I'd stowed in the fridge.

Jam was the obvious choice, but looking at all the peels made me think I should do something more with them too. As usual, Punk Domestics led me somewhere I wanted to be. I found a post about Peach Peel Butter that I could easily adapt. Half way through that process I almost gave up and just went with Peach Syrup, but the feeling I could get some more out of those peach skins was persistent, so I went for a variation of the butter too. In the end those 5 lbs of peaches gave me jam, syrup and butter - the most satisfying kind of economy ever.


Recipe for Summer Peach Jam
Makes 6 half pints

6.5 cups peaches, washed, blanched, skinned, pitted and chopped
4.5 cups sugar
¼ cup lemon juice (juice from 1½ lemons)
3 pieces star anise
½ cup water
1/8 teaspoon kosher salt
8 ounces of homemade apple pectin

Add sugar to chopped fruit and leave to macerate for a couple hours in a non-reactive pan. This step is optional, but it releases the juices from the fruit which helps it break down more while cooking. Since my fruit wasn't the ripest I left it macerating for about four hours.

Prepare your water bath canner and jars before or just after you begin cooking your jam, so that you can work seamlessly once it is ready. {If you're new to home canning, Local Kitchen's how-to post is great! I also recommend spending some time with the USDA's Complete Guide to Home Canning}

Bring the peaches, sugar and lemon juice to a boil over medium-high heat. Reduce heat to medium and use a potato masher to break the fruit up. Add water and 3 pieces of star anise and continue cooking and stirring regularly to prevent scorching. Even though homemade apple pectin is different from commercial pectin in that it can cook for longer, I added mine after about an hour on the stovetop and only needed an additional 10-15 minutes before it began to thicken up nicely. Add the salt just before removing from the burner.

Fill hot jars, leaving a ¼-inch headspace. Use a chopstick to remove any air bubbles, and wipe rims with a clean, damp cotton dish towel. Add lids and screw rings to fingertip tightness only. Process in water-bath for 10 minutes and then remove from canner. Let rest on a wire cooling rack for 24 hours. 


Recipe for Peach Syrup and Bourbon Peach Skin Butter
Technique for Peach Skin Butter adapted from this recipe

Peach skins
Sugar
Water
Maker's Mark (or similar quality) bourbon

Weigh the peach skins leftover from your jam-making, and add the same weight of sugar to a non-reactive pan or glass bowl. Stir and leave to macerate, covered, for 24 hours. You can leave this for up to 3 days in the refrigerator.

When ready, place macerated skins and sugar on the stovetop over low heat, adding the juice from ½ lemon plus 2 cups of water to start. Leave to cook, stirring occasionally and adding water as it thickens to keep it from burning.

Turn the heat off and cover overnight.

If you want syrup as well as butter, on the second day, add a few cups of water and cook until it has incorporated to become syrup, which should be a gorgeous color and very fragrant. Pour through a strainer into bottles, reserving 4 oz of the syrup if you're going to make the butter. Add the reserved syrup back into the skins, and keep cooking it down and adding water for another day. 

If there are still some stubborn chunks of skin as it approaches the consistency of fruit butter you like, use an immersion stick blender for a couple minutes to smooth it out and make it more uniform. 

When done, turn off the heat and stir in a capful of Maker’s Mark bourbon.

Since I was leaving town, I decided to process the one half pint jar in my handy 4th burner pot. If that's your chosen rout too, process for 10 minutes in the water bath, then turn off the heat and leave it in the hot water for another 5 minutes with the top off.

The beauty of making the syrup and butter is you don't really need a recipe, just match the weight of your peach skins and your sugar, and keep adding water. For me, 1 lb 14 oz of skin produced 12 ounces of finished syrup and 1 half pint of butter!


This was an extra enjoyable project since I got to use up every last scrap of fruit, plus try out some new techniques. And that's what this Cook It! year of challenges is all about right?

Peach Jam + Bourbon Peach Skin Butter + Syrup on Punk Domestics

Saturday, June 16, 2012

Ginger Beer - Cook It! 2012: May Resolution + Gingery Beer Cocktail Recipe

My forays into fermenting have been minimal, with only Moroccan Preserved Lemons and an Indian-Spiced Kumquat Chutney under my belt. So May's Cook It challenge was, as usual, an exciting one: ferment something.

Fresh, bubbly ginger beer
Of course when given such a broad task, my mind shot in a million directions and I wanted to make about a dozen things at least. After narrowing my focus, I decided on ginger beer. Seasonal, rejuvenating, and it lends itself well to hot days and summer nights.

Well Preserved's recipe is the one I went with, which was straightforward and clear. Both phases of this technique were a cinch to follow, and my end result turned out deliciously, though I have to say I wanted more ginger. Maybe even double the ginger flavor. Note to self for next batch.

Making the ginger "bug", or ferment starter was fun...I liked the process of feeding it every day and putting my ear down close to listen for the frothing sounds of fermentation. Once it was in bottles I also liked inspecting for bubbles and any other evidence of something happening inside the glass. And man, when I opened the first bottle and it fizzed like crazy (no explosions, thank you), I must say it was extremely satisfying. I guess I am a bubble lover. (Which probably means I am a fermenting freak, even if I don't know it yet.)

Follow along with the blow-by-blow version in pictures below. The recipe at the end is like a pot of gold.

Slice the ginger into coins, skin and all

Then finely dice for the ginger "bug" or starter

Put ginger in a quart-size jar and add sugar and water

Cover jar with cheesecloth and a band to allow in air but not flies

Day 1

Day 2, after feeding

Day 3, cloudier

Day 4, fizzing away

Hello bubble friends!

This ginger measures up

Chopped and ready

Bringing ginger, sugar and water to a boil

After mixture has cooled, strain to remove solids
\
Add the juice of two lemons and the ginger bug to the strained syrup

After straining again and adding water, into bottles it goes

Then it becomes a waiting game...

I opened the first bottle after two weeks...

Look at the effervescence

So pleasing to the eye and palate

Two bottles made it to 3 weeks of fermentation. After chilling in the refrigerator, out they came for cocktail duty. I chose my day well too, it was some 80 degrees out...sipping weather at its finest. Now you can mix up a batch of my favorite beer cocktail recipe below, and put your feet up. Yup, it's summertime, and the living is easy.

The fixings
Gingery Beer Cocktail Recipe

Inspired by the Buli-Buli drink at one of my all-time favorite brunch spots, Primo Patio Cafe, this beer cocktail is refreshing and oh-so-simple to make. It's perfect for summer barbeques or parties since you can whip it up by the pitcherful. It will be so popular you will need to!

2 bottles (or cans) of beer — I prefer Red Stripe, but any lager or lighter style beer such as Pacifico will do
2 cups of ginger beer
Juice of 4 limes + 1 lime, quartered for garnish
4 Tb ginger syrup
4 Tb sugar
A lot of ice

Fill a large pitcher with ice, pour in the beer, ginger beer and lime juice. Stir in the ginger syrup and sugar, making sure it is fully dissolved and mixed in. I prefer it a little less sweet, so just taste along the way and adjust sweetener to your liking.

You could also substitute ginger ale for the ginger beer, but remember to reduce the sweetener if you do.

Pour into cups and enjoy!


Making ginger beer in pictures on Punk Domestics