|
| Jim showing off some freshly foraged chanterelles |
Name:
Jim Ratcliffe
Home (+ hometown swap):
San Francisco
Profession:
Designer
How did you first get involved in food swapping? How long ago?
My girlfriend Olga and I
came to the first swap and were hooked!
What did you make for
the last food swap and what inspired your choice?
I made Kimchi and Spring
rolls.
 |
| Jim's spring rolls at the February swap |
What’s your favorite thing about swapping?
Meeting folks, swapping
foods, and coming home to unpack a gorgeous box of yummy foods that I would
probably never make for myself.
Who or what most influences your cooking?
Travel, serendipity, and
the challenge of using unconventional ingredients.
What’s your favorite kitchen tool?
Mac knives and a
silicone ball whisk.
Your current flavor or ingredient obsession?
I think I have been
obsessed with Thai and Vietnamese cooking for a while now. It fascinates me
because it challenges most of our western assumptions about flavors,
ingredients, and cooking technique.
Biggest food surprise?
Stinky tofu. I love
fermented, rotten foods, but I will never forget my first bite of stinky tofu.
If the Rapture came tomorrow, what would your last meal on earth be?
Shishnu, a Nepali soup
made from nettles with a little ground buffalo meat mixed in. It’s divine, and
reminds me of my first trip to the Himalaya. Then I'd go for a northern
Thai/Burmese dish called Kao Soi and finish up with some simple poached
pears and ice cream.
When I'm not in the kitchen I'm _________.
In the dining
room.
Favorite local food experience:
The Alemany farmer's
market, foraging for wild mushrooms on the coast, and charter fishing out of
Half Moon Bay.
Recipe
by Jim:
 |
| This salad is incredible! |
Spring Roll Salad
I love to improvise in
the kitchen, and every once in a while, I come up with a dish where everything
clicks. At last I found something fun to do with Asian pears! My
inspiration was to take the sour, crunchy goodness of a Thai Green Papaya
salad, and enhance it with the crisp textures and flavors you find in a fresh
spring roll. This recipe is very adaptable... once you get the dressing
down, you can really empty out the fridge with it. It also works great
for potlucks.
Dry Ingredients:
Rice Stick noodles, 7 oz (1/2 package) Go for Three Ladies
Brand, the narrow, flat ones work best.
Dried Shrimp (1/4 cup or more, chopped roughly.)
 |
| Rice stick noodles and dried shrimp |
Put the noodles and
dried shrimp in warm water and let them soak while you gather and prepare the
other ingredients.
 |
| Have all your ingredients ready |
For the Dressing:
4-5 limes
Tamarind pulp (optional)
Fish sauce (Phu Quoc,
Three Crabs, or Red Boat)
Sesame oil
Palm sugar
Lemongrass
Dried red chillis
Thai chillis (or
serranos)
Thai basil
Shallots
Cilantro
Mint
Fresh Ingredients:
Fresh young spinach
leaves or lettuce
Grape tomatoes
Asian Pear or apple
(1/2)
Cucumber
Radish
Crushed
peanuts (1/2 cup)
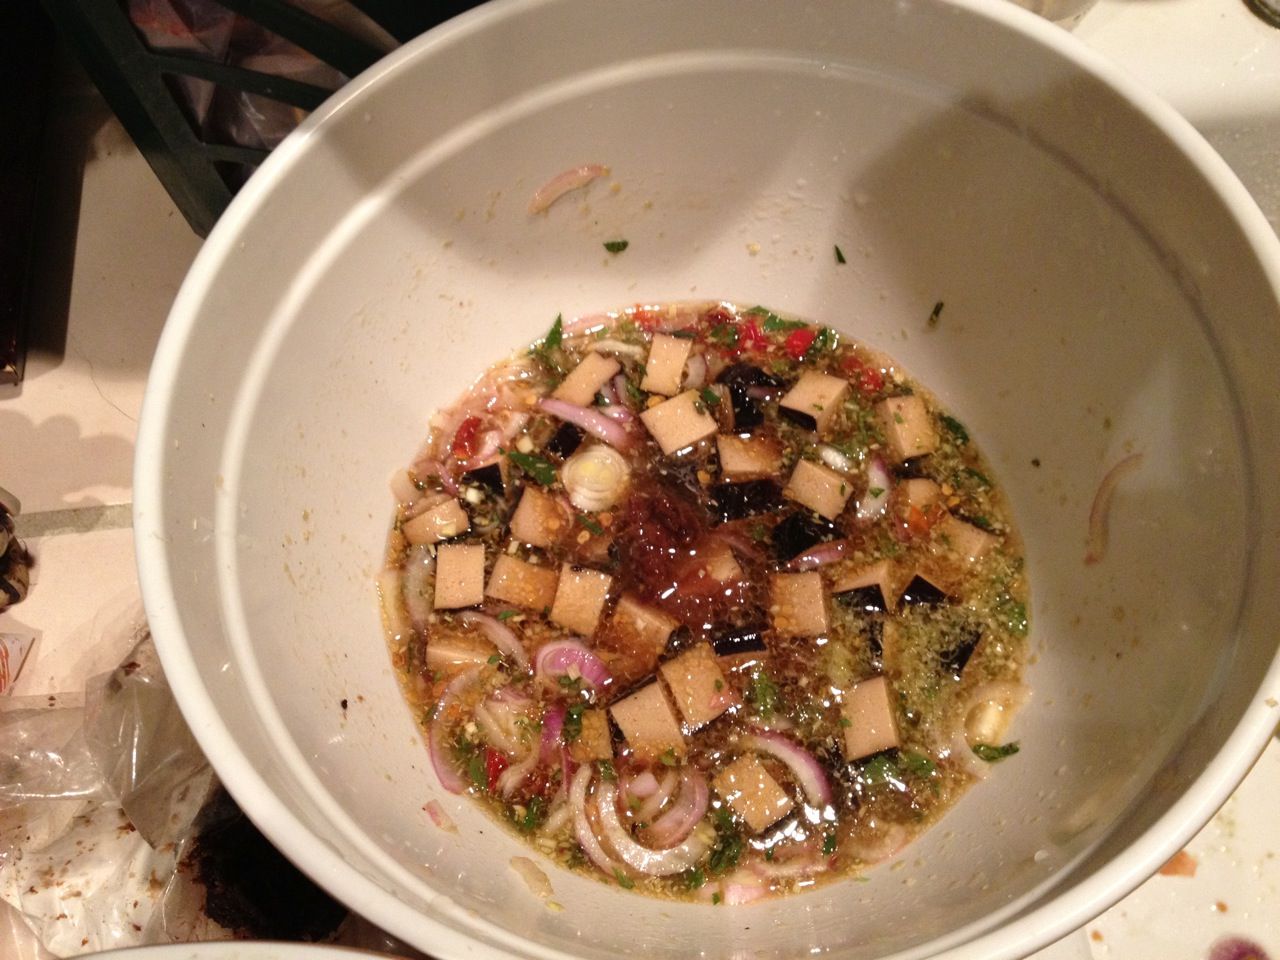 |
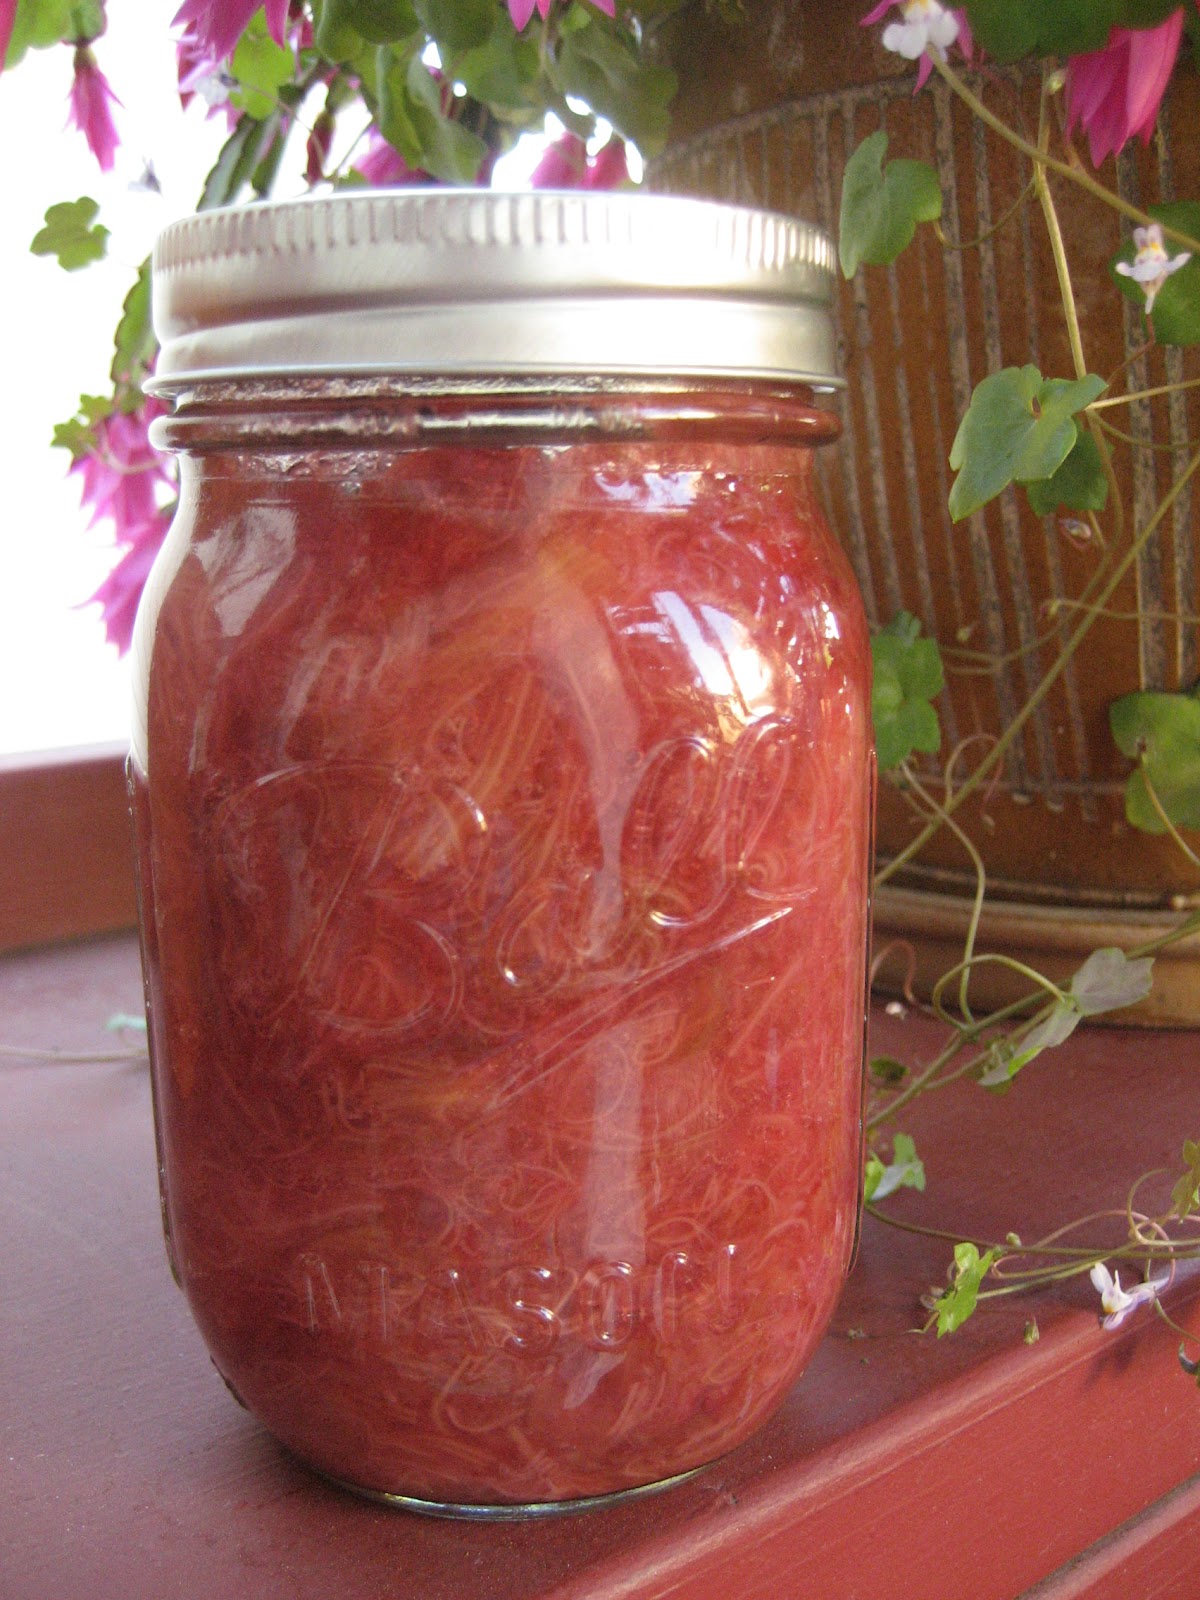
| The dressing is key |
Make the dressing: Combine the following in
a medium bowl: the juice of 4-5 limes, tamarind pulp, 2-3 tablespoons of fish
sauce, 1-2 chunks of palm sugar (the palm sugar can be crushed or chopped to
help it dissolve) and 2 tablespoons of sesame oil. Whisk for 30 seconds. Add: 5
thinly sliced shallots 1/4 cup cilantro, 1/4 cup mint, 1/4 cup Thai basil
(roughly chopped), crushed dried chillis, and finely chopped fresh chillis.
Cube the tofu and add to the dressing. Taste and adjust, the dressing should be
very sour, a little salty and sweet.
Set a medium-sized pot
of water to boil and prepare the fresh ingredients. Cut each ingredient
uniformly to highlight its color, form, and texture.
 |
| Cutting fresh ingredients |
Put the noodles in the
boiling water. Don't overcook- it only takes about two minutes for them to be
done. Noodles should be slightly firm, but cooked: 10 seconds makes a
difference. Empty noodles in a colander and rinse them in cold water until they
are room temperature.
Add noodles to a large
bowl. Dress them with a little sesame oil. Combine all ingredients, and toss
with dressing. Taste and add more fish sauce/lime juice if needed. The
salad should not need salt, as there is plenty in the fish sauce.
Refrigerate for an hour
to let it figure itself out. Enjoy!
 |
| Jim's salad was a hit at the swap potluck! |